Table Of Contents
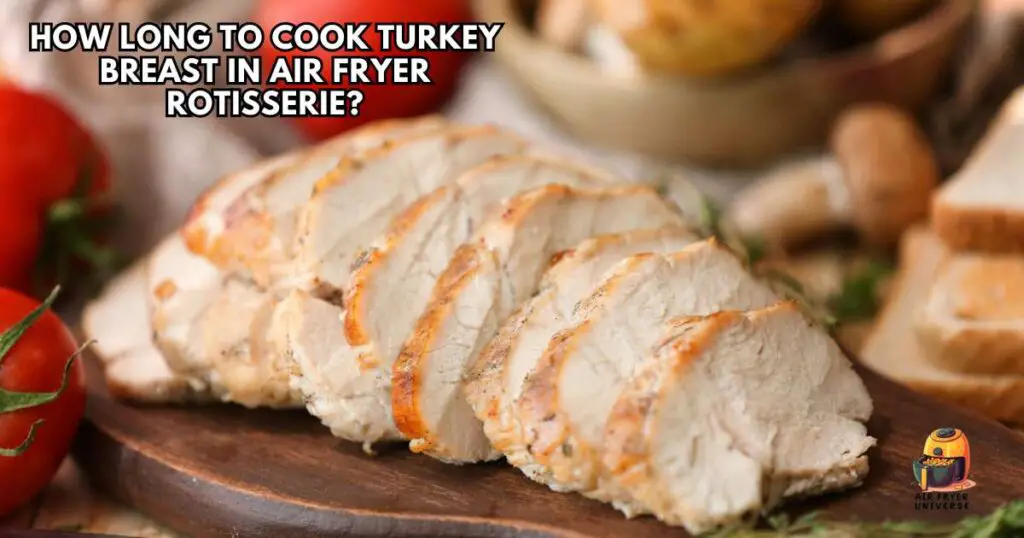
Cooking a turkey breast in the air fryer rotisserie is simple – just 25-30 minutes for a succulent and stress-free result! No more waiting around with the oven on; let’s explore the simplicity and efficiency of achieving the perfect turkey using the air fryer’s rotisserie function.
With even cooking and the air fryer’s quick capabilities, your turkey turns out golden and flavorful, ready to steal the spotlight on your table. Embrace the ease of a speedy approach to a delicious and perfectly cooked turkey dinner – a culinary adventure worth savoring!
How to Cook Turkey Breast in Air Fryer Rotisserie?
Cooking turkey breast in an air fryer with a rotisserie function is a convenient and efficient way to achieve a delicious and moist result. Here’s a simplified step-by-step guide:
Ingredients
- Turkey breast-1 (2-3 pounds, boneless or bone-in)
- Olive oil
- Salt and pepper to taste
- Garlic powder, onion powder, and paprika for additional flavor (Optional)
Process:
- Ensure the turkey breast is fully thawed if frozen. Using paper towels, pat it dry to absorb any remaining moisture.
- Rub the turkey breast with olive oil, covering all sides evenly—season with salt and pepper. Add garlic powder, onion powder, or paprika for enhanced flavor.
- Use kitchen twine to tie the turkey at intervals, securing the wings and thicker parts of the breast. Trussing helps maintain a compact shape for even cooking.
- Preheat your air fryer to 360°F (182°C). Preheating ensures the turkey starts cooking immediately for better results.
- If your air fryer has a removable rotisserie spit, insert it through the center of the turkey breast. Ensure the turkey is centered and balanced on the spit.
- Depending on your air fryer model, place the spit with the turkey breast into the air fryer basket or rotisserie mechanism. Confirm that the turkey is securely positioned.
- Set the air fryer to the rotisserie function and cook at 360°F (182°C). Cook for approximately 25-30 minutes per pound. This ensures a crispy exterior and juicy interior.
- Check the turkey periodically for even browning. If needed, rotate the spit to achieve a uniform color.
- About 15 minutes before the estimated cooking time is complete, use a meat thermometer to check the internal temperature. Ensure it reaches at least 165°F (74°C) in the thickest part of the breast.
- Carefully remove the turkey from the air fryer and let it rest for 10-15 minutes. Resting allows the juices to redistribute, resulting in a moist and flavorful turkey.
- Carve the turkey into slices, following the natural contours of the meat. Present your perfectly cooked air fryer rotisserie turkey breast with your favorite sides.
Read More:
Tips & Tricks for Making Turkey Breast in Air Fryer Rotisserie
Here are some helpful tips and tricks to ensure your turkey breast cooked in an air fryer with a rotisserie turns out perfectly:
- Select a turkey breast that fits comfortably in your air fryer, allowing it to rotate freely on the rotisserie. This ensures optimal cooking and browning.
- Thaw the turkey breast in the refrigerator overnight to ensure even cooking and to minimize the risk of bacteria growth.
- Use paper towels to pat the turkey breast dry thoroughly. This step is crucial for achieving a crispy skin, as excess moisture impedes crisping.
- Massage the turkey with olive oil, covering every nook and cranny—season liberally with salt and pepper. Consider adding a mix of garlic powder, onion powder, and paprika for depth of flavor.
- Trussing with kitchen twine helps maintain the turkey’s shape during rotation. Start by tying the legs together and secure the wings to the body.
- Preheat your air fryer to 360°F (182°C) to jumpstart the cooking process, ensuring the turkey starts cooking immediately upon insertion.
- Carefully insert the rotisserie spit through the center of the turkey, ensuring it’s balanced. Secure the spit in the air fryer according to the appliance’s instructions to prevent wobbling during rotation.
- Keep an eye on the turkey’s browning progress. If one side is browning faster, consider rotating the spit for even color distribution.
- Invest in a reliable meat thermometer to gauge the turkey’s internal temperature accurately. Ensure it reaches at least 165°F (74°C) in the thickest part of the breast for safe consumption.
- Allow the turkey to rest on a cutting board for 10-15 minutes before carving. Resting allows the juices to redistribute, producing a moister and more flavorful turkey.
- Get creative with seasoning and marinades. Use fresh herbs, citrus zest, or specialty spice blends to infuse unique flavors into the turkey.
- Be mindful of the size and capacity of your air fryer. Adjust cooking times accordingly, and ensure the turkey fits comfortably without overcrowding.
- Basting with the turkey’s juices or a flavorful liquid during cooking adds moisture and enhances the overall taste. Use a basting brush to apply the liquid.
- Achieve extra crispy skin by brushing the turkey with a thin layer of oil or melted butter before and during cooking. This helps enhance the golden-brown exterior.
How to Store Leftover Turkey Breast?
Storing leftover turkey breast correctly is essential to maintain its quality and safety. Here’s a guide on how to store leftover turkey breast:
Cool the turkey
After cooking, ensure the turkey breast cools at room temperature for approximately 2 hours. This crucial step prevents condensation, reducing the risk of bacterial growth during storage. Rapid cooling is essential for maintaining food safety and preserving the quality of the cooked turkey for later consumption.
Separate Meat from Bones
For bone-in turkey breast, optimize storage by separating the meat from the bones. This not only streamlines storage but also enhances moisture retention. The bone removal ensures a more compact arrangement, facilitating efficient storage space use and preserving the turkey’s succulence for later enjoyment.
Slicing or Shredding
Optimize reheating and cooling by slicing or shredding the turkey into smaller portions. This practical approach enhances the efficiency of both processes. Whether for convenient reheating or swift cooling, managing the turkey in smaller portions ensures practicality, allowing for quicker temperature adjustments while preserving the deliciousness of each bite.
Prompt Refrigeration
Preserve the freshness of leftover turkey by promptly refrigerating it within two hours of cooking. Use airtight containers or resealable plastic bags to prevent air exposure and maintain optimal taste. This swift refrigeration inhibits bacterial growth, ensuring the turkey remains safe to consume while retaining its delicious flavor for subsequent enjoyment.
Labeling and Dating
Keep things organized and your turkey fresh by labeling containers with the date you put them in the fridge. It’s a simple trick that helps you know how long it’s been stored so you can enjoy the older leftovers first. This way, you can savor the turkey’s quality and taste.
Consider Portion Sizes
Make storage efficient by dividing the turkey into smaller portions. This thoughtful approach lets you thaw and reheat only what you need, reducing unnecessary waste. Whether planning a single meal or multiple servings, managing portion sizes ensures practicality while keeping the remaining turkey in top-notch condition for future enjoyment.
Thawing for Long-Term Storage
Prepare for extended storage using freezer-safe materials like heavy-duty aluminum foil, freezer paper, or vacuum-sealed bags. These choices protect the turkey from freezer burn, preserving its quality. Opting for proper storage materials ensures that when you decide to enjoy the stored turkey, it will be as flavorful and succulent as the day it was cooked.
Labeling for Freezing
Ensure organized freezing by clearly labeling the packaging with the date. This simple step allows accurate monitoring of storage time, empowering you to prioritize consuming older leftovers first. By staying mindful of the freezer duration, you contribute to maintaining the quality and taste of the turkey for a delicious and enjoyable culinary experience.
Strategic Freezing
When freezing the turkey, place the packaged portions in the freezer, initially arranging them in a single layer. This thoughtful approach ensures quicker freezing, preserving the turkey’s quality by minimizing the time it takes to freeze each portion individually. Efficient freezing contributes to maintaining the turkey’s deliciousness for future use.
Safe Reheating Practices
For a safe and delicious reheating experience, thaw frozen turkey in the refrigerator. Reheat in the oven, microwave, or stovetop until reaching an internal temperature of 165°F (74°C) for food safety. This ensures that every bite of reheated turkey is enjoyable and free from potential health concerns.
FAQs
Is Turkey Breast Healthy?
Yes, turkey breast is healthy. According to Champagne, it’s a great source of protein, rich in vitamins and minerals, and low in fat if you avoid the skin. Turkey is particularly rich in B-complex vitamins such as B6, B12, niacin, and the essential nutrient choline, contributing to a nutritious diet.
How Long to Cook Boneless Turkey Breast in Air Fryer
Cooking a boneless turkey breast in the air fryer typically takes about 25-30 minutes at 360°F (182°C). Ensure it reaches an internal temperature of 165°F (74°C) for safe consumption. Factors like the breast size and your air fryer model may slightly affect cooking times, so monitor it closely.
Is a Turkey Good on a Rotisserie?
Yes, a turkey is good on a rotisserie. The rotating spit gives tender skin and juicy meat. A tasty brine and stuffing with flavorful aromatics add lots of yummy taste. Using a rotisserie brings out the best in your turkey, making it succulent and delicious—a delightful choice for a tasty meal.
How Do You Know Turkey Breast is Cooked?
Use a meat thermometer to check the internal temperature to know if your turkey breast is cooked. It should reach at least 165°F (74°C) in the thickest part. The meat should be opaque with no pinkness, and the juices should run clear. Properly cooked turkey is safe to eat and retains its deliciousness.
Final Verdict
Achieving the perfect air-fried rotisserie turkey breast involves careful preparation and attention. This article provides essential steps for a delectable outcome, including tips on seasoning, trussing, and monitoring the cooking process. For added flavor, consider experimenting with different spices.
Ensure a crispy skin by brushing with oil. A meat thermometer remains your best ally for checking doneness. Explore the guide for expert advice on creating a moist, flavorful turkey. Delight in a hassle-free cooking experience and relish the mouthwatering results. Dive into the details by reading the full article!
You May Also Like to Read: